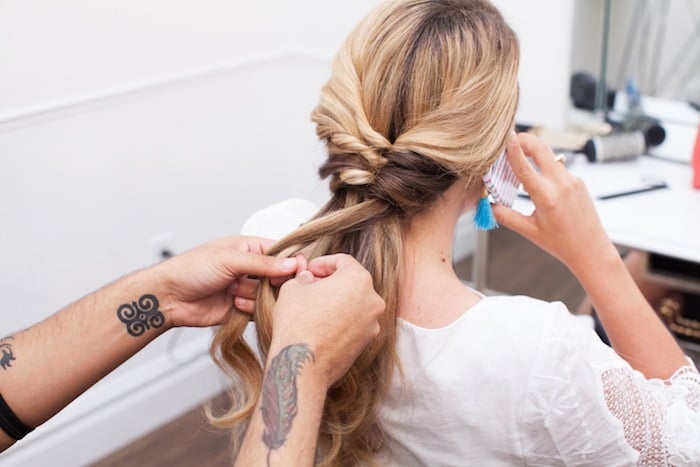
And today, Jay and I are back with another DreamDry inspired hair tutorial! I’ve been really excited for this one as it’s so unique and different. It’s also (believe it or not) probably our easiest hair tutorial to date.
I will admit that when Jay suggested we do a “topsy tail braid,” I raised an eyebrow at first… but then he showed me what it would look like and I freaked out (in a really good way). The technique he used is so cool… and so easy! I have a lot of hair, so this braid looks really big and fat, but it’s really the technique that makes it look so full… making it great for all hair types.. thin, thick, and in between!

We started by blowing out my hair with Kerastase Spray-a-Porter (an anti humidity spray.) Jay then curled the ends of my hair and brushed them out to add a little bit of volume.
Start off the braid at your part, in symmetrical sections… gathering a piece from each side of your part.

Then, take a tiny elastic (clear if you have blonde/light hair, black if you have dark hair) and loop the two pieces through.


Then, flip the little pony through the loop you just made using your index finger, as illustrated above.

Repeat these steps, gathering from the side.


Once you’ve made two tiny topsy tail ponytails, secure them together with a hair pin and fluff out.

Continue to repeat, making tiny topsy tails and securing them together with hair pins… and then fluffing out the hair to fatten it up.


When you reach the bottom and can no longer create anymore topsy tail braids, finish things off with a fishtail braid.

And voila, you are all done! Jay smoothed and finished with Kerastase Lacque Noire (a brushable finishing spray) to add a bit of hold.

Great hairdo, I wish I would have a longer hair to make it too!
http://lartoffashion.com
I absolutely love the hairstyle and how it looks with your earrings!
xx
ALINA ERMILOVA | BLOG
So pretty!
Ok this is adorable and looks easy to do! Looks complicated and fancy but the steps seem very doable. My one concern, was it hard to take this out at the end of the day? So many of those tiny hair bands!
Love this! So clever!
Kate
Come see where one of my favorite runs is!
http://www.lamiabellavita.com
Love this hairstyle so much! Wish my hair was a little longer so I could do it!
xo Bree
http://bree-west.com
oh.my.gosh. that’s how they do it!? I’m definitely trying it out.
Xo, Megan, http://www.TfDiaries.com
right? it’s so simple but so cool!
So envious of your thick locks, Grace!
http://www.velvetcrate.com
This is sooo pretty. Love! xoxo.
http://www.midwesternmamalove.com
this hairstyle! My hair is mid-back length & I’m always looking for a way to switch up my usual braids in the summer. It was super easy to do & I received so many compliments. Thanks for sharing!
Wow nice hair style…Thanks for this post.