Annnd Jay and I are back with another DreamDry inspired hair tutorial. You might recall a few months ago, when we did a finger comb beach waves tutorial (no round brush necessary!) This time around, Jay had just taken a seminar with celebrity stylist Jen Akin and Harry Josh (the creator of that famous green hair dryer) and was inspired to create something a little bit more sleek, using a curling iron and a flatiron for a bit of variation. This is my favorite way to wear my hair and I’m still mastering using my flatiron to create the “S-Wave.”

Jay started out by blow drying my hair with a big round brush and Oribe’s Curl Control Silkening Cream for hold. The cream takes out all of the frizz and left my hair feeling super soft.
He then parted my hair off center and sectioned it off… putting the top part in a bun.

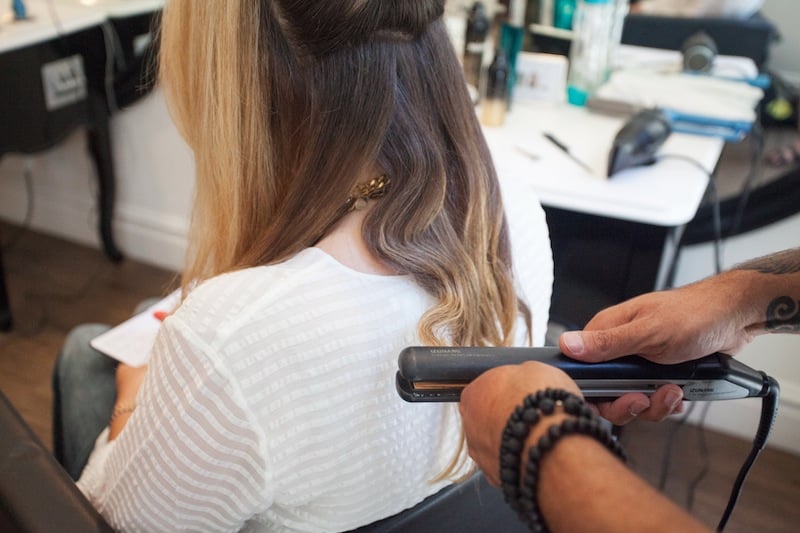
And then, it was time to curl. He alternated between using a 1″ flatiron and a 1 1/4 inch curling iron (both from Babyliss)

Jay notes that it’s really important to curl the hair in horizontal sections, here. He started with a standard spiral curl.

Next, create an S-Wave with the flatiron. This is an Oribe technique, and uses the flatiron to press into the hair and create a wave. You start by pinching the horizontal section with your fingers, and then opening the flatiron. Then bend hair into an S just where the flatiron will touch it. Go flat on the S, and then push to create another S. Shake it out. This sounds a little complicated, but it’s basically just using the flatiron to create “S” like bends in the hair. I’ve been practicing and am slowly getting better. It’s worth learning!


When curling the hair, it’s important that you leave the ends undone… this keeps the look nice and easy!

When you get to the front of the hair, stop working in horizontal sections and switch over to diagonal sections to help with volume and length.


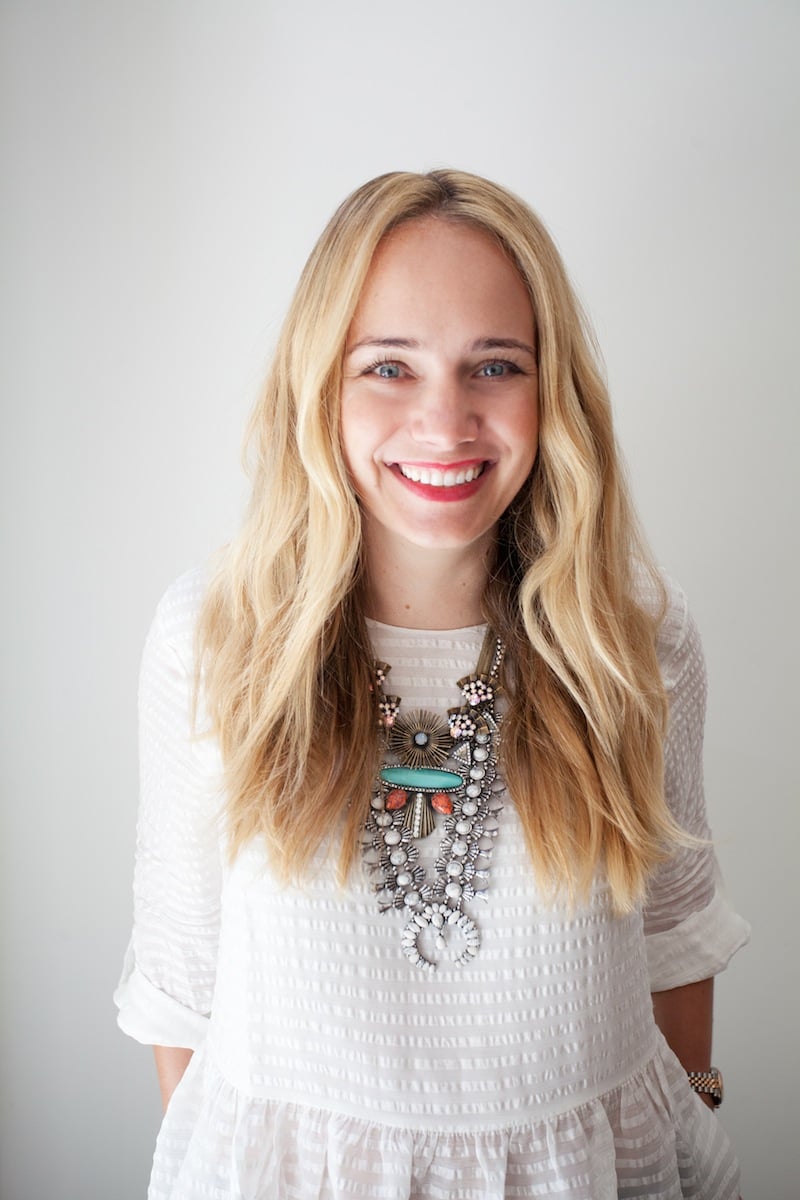
Last but not least, seal with Oribe Thick, and then apply 1/2 fingertip’s worth of pomade to your hands and then press down on the part. Voila… glam beach waves!

photography by Lydia Hudgens.

I love beachy hair. You look great.
I love your beachy waves! Can’t wait to try at home!
Flat iron waves are so hard to do! I try and try but I think it’s just a matter of mastering it over time. My right side always looks better than the left.
Jamie // Hello There, Lady!
My stylist is an oribe stylist and we haven’t done the “S” trick yet! I will have to get her to teach me! I’m always up to try new tricks!
emily // delta chic
http://www.deltachic.com
Now you’re making me miss my long hair!
good look:)